
You can configure how your login page appears for the user. Here is how you configure the sign-in page:
-
Click the Organization Settings icon in the top right corner. See the following image:
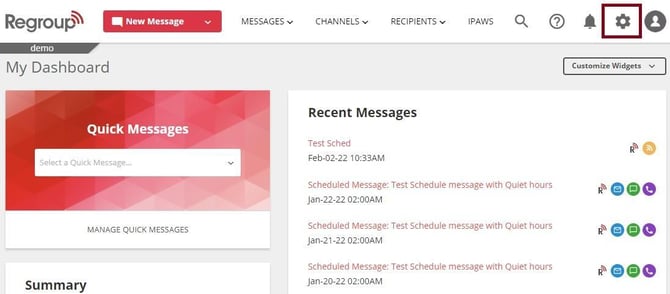
The Organization Settings page opens with the General tab.
-
Click the Sign-In Page tab. See the following image:
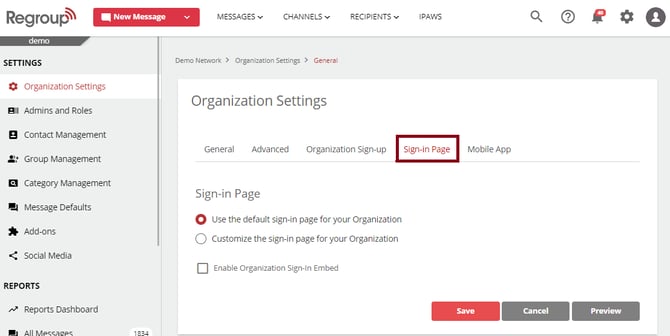
-
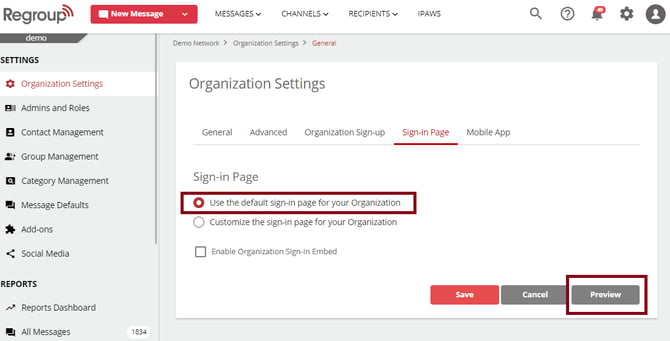
Click Use the default sign-in page for your Organization checkbox to use the default sign-in page. You can click Preview to view the page and click Save if you don't want to customize the sign-in page. See the following image:
-
Click to enable the Customize the sign-in page for your Organization checkbox to customize the webpage. See the following image:
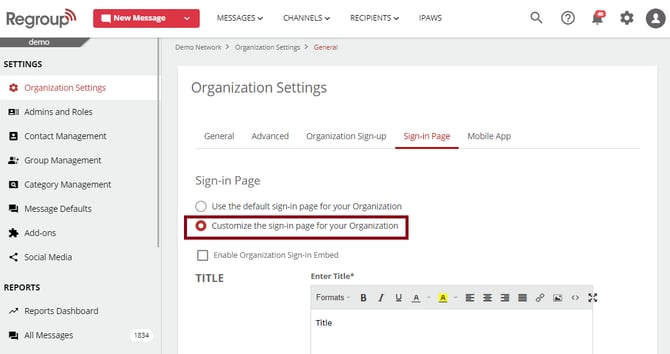
The customization section opens.
-
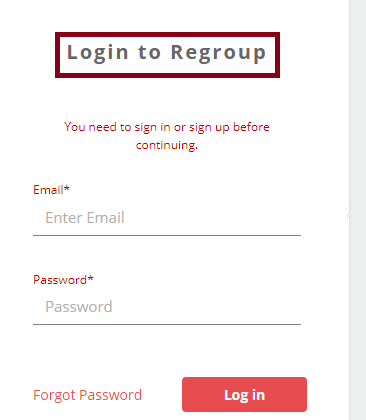
Enter the page title in the Title section. The following image shows how the title appears for the contact:
-
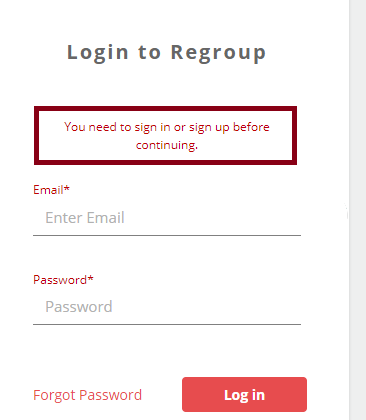
In the Description section, enter the description for the log-in page. The following image shows how the description appears for the contact:
-
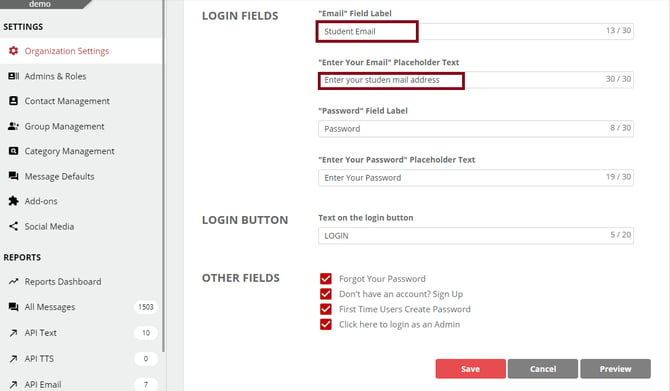
In the Login Field, you can edit the Field Label and Placeholder Text for the email and password.
Tip: The field label appears as the title of the field. The placeholder text appears inside the text field where users enter information.
See the following image:
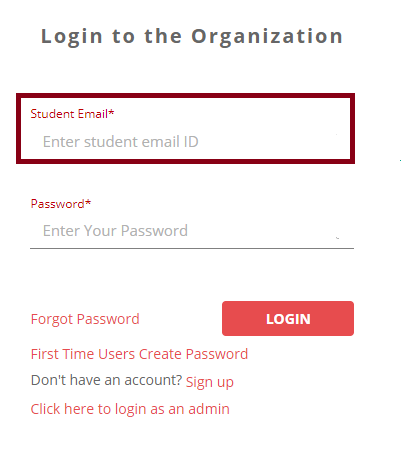
Here is how the field label - Student Email and placeholder text ‘Enter your student mail address’ appears for the contact:
-
In the Login Button section, you can enter the text that appears in the login button.
-
In the Other Fields section, you can click to select the following checkboxes:
-
Forgot Password: This text links to the page where they can reset their password.
-
Don't have an account? Sign Up: This text links to the page where the user can perform the web sign-up.
-
First-Time Users Create Password: This text links to the page where first-time users can create a new password.
-
Click here to log in as an Admin: This text links to the page admins can sign in.
-
-
You can click Preview to view the sign-in page.
-
Click Save.