
Form fields are text fields with multiple predefined values. Admins can create form fields with a list of values repeatedly used in messaging across your organization.
Here is how you create form fields and add required values:
-
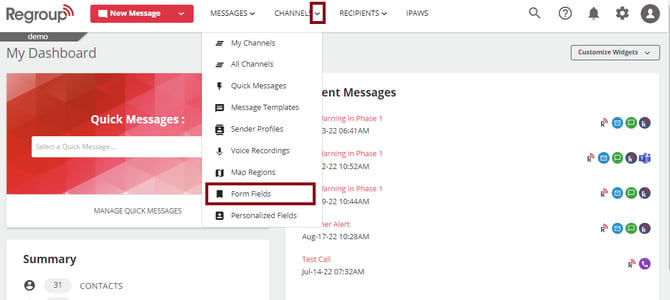
Click the Channels drop-down.
-
Click Form Fields from the drop-down. See the following image:
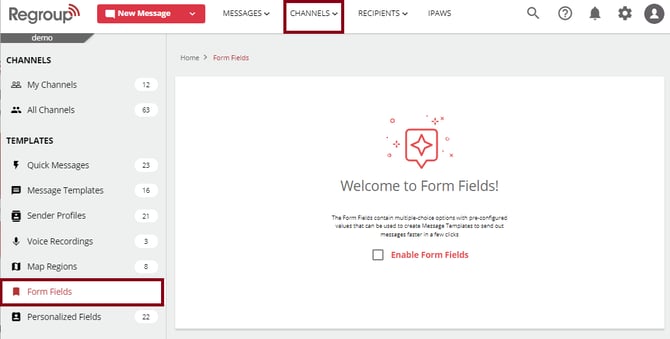
You can also click the Channels tab, then click Form Fields under the Templates section on the left navigation panel.
-
Click the Enable Form Fields checkbox to enable the feature for your organization.
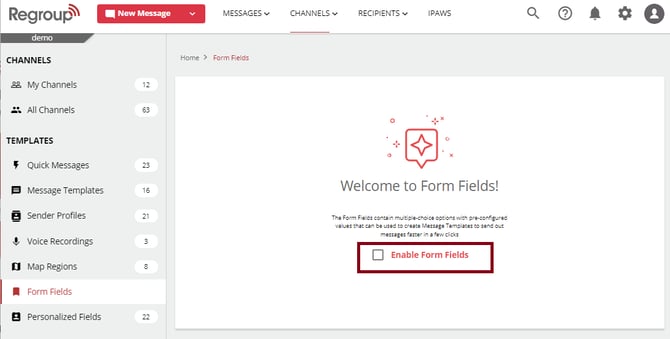
The Form Fields page opens.
-
Enter a name in the Field Name. See the following image:
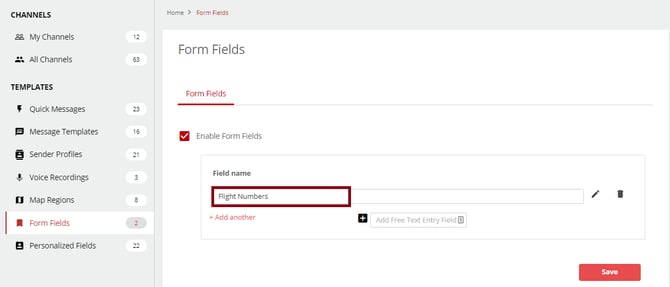
When sending messages, this text will provide a drop-down option with all the values you add to it.
-
Click the pen icon to add values to the form field. See the following image:
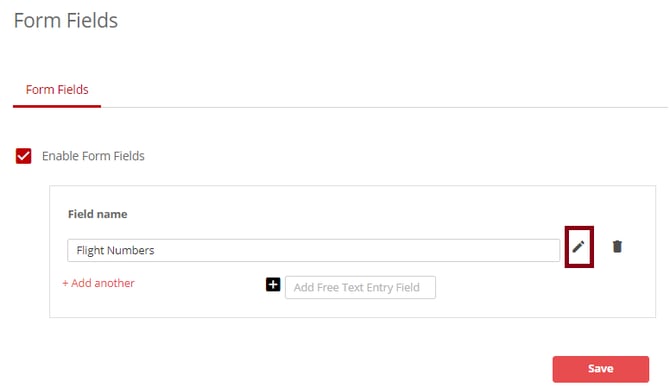
The page to add form field values opens.
-
Enter a value for the field in the Value field.
-
Click +Add Another to add more form fields. See the following image:
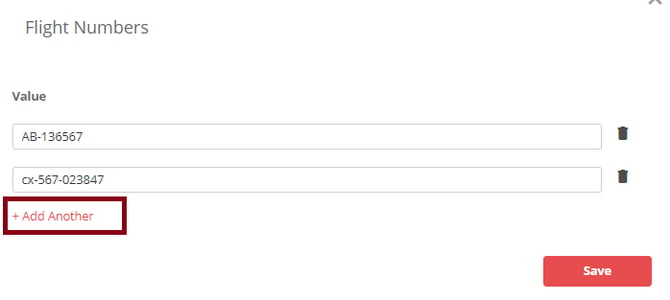
Ensure to add all the possible values in the form field. A sender can use only these values while sending messages.
-
Click Save when all the required values are added.
Now you have added values to a form field. The Form Fields page opens.
-
You can click Add another to add more form fields. See the following image:
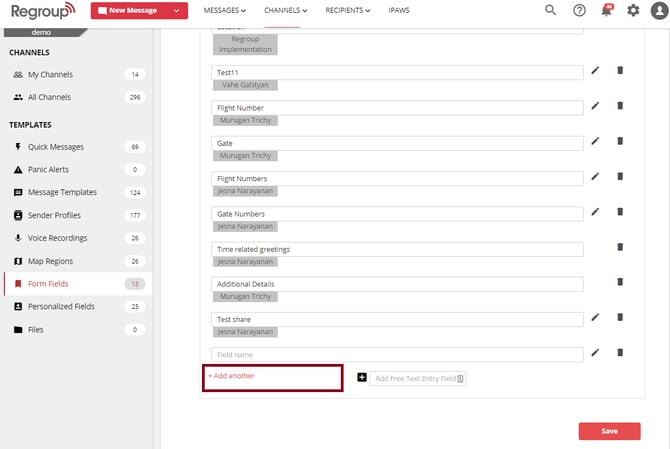
-
You can click Add Free Text Entry to create a text box that other admins can use to add free text while sending messages.
Tip: You cannot update the message body while using form field templates. To add more details, create a Free Text Entry Field and add it to the template. The free text field lets you add more details to the existing message content.
-
Enter a label to recognize the free text field.
-
Click the +sign to save it. See the following image:
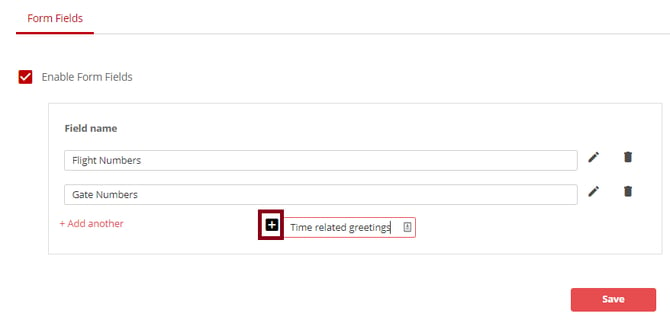
When the free text field appears in a message template, the admin can enter any appropriate text and send the message.
-
Click Save to save all changes.
You get a message confirming the creation of form fields.