
Use this method to manually add new contacts to groups. In this method, you should enter all the contact details.
Here is how you add new contacts to a specific group:
-
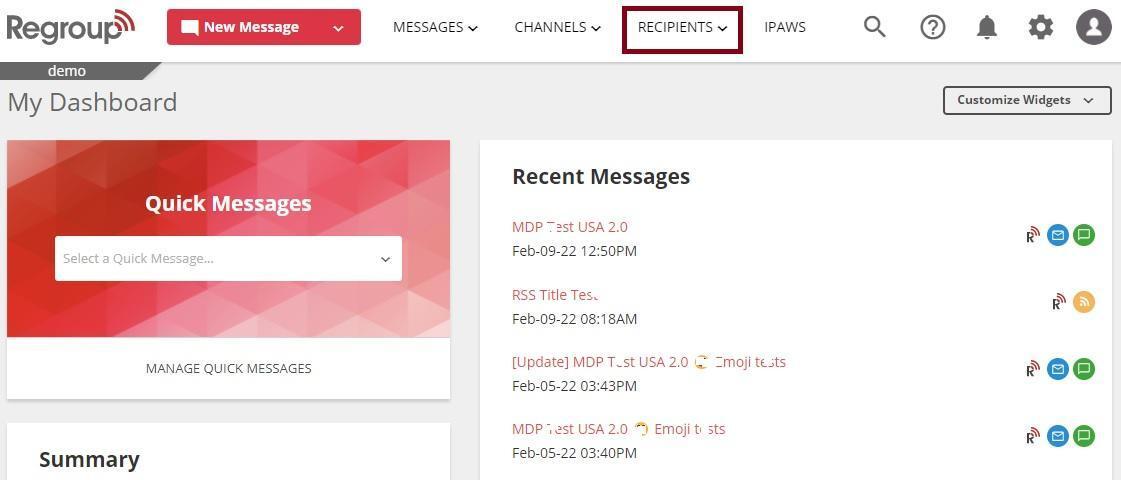
Click the Recipients tab. See the following image:
The My Groups page appears.
-
Search and locate the group to add the contacts in the My Groups tab. Organization admins can add contacts to the groups on the All Groups tab.
-
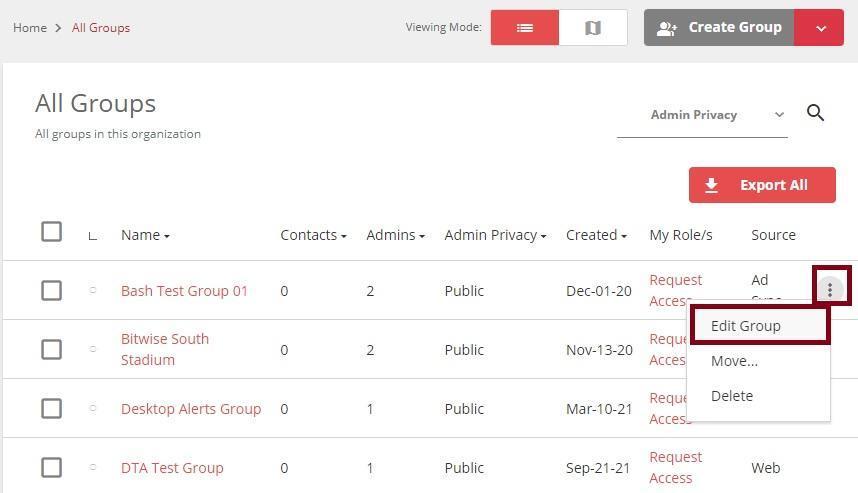
Click the group name and open it. Otherwise, click Edit Group from the vertical ellipsis.
See the following image:
The Group Settings page opens.
-
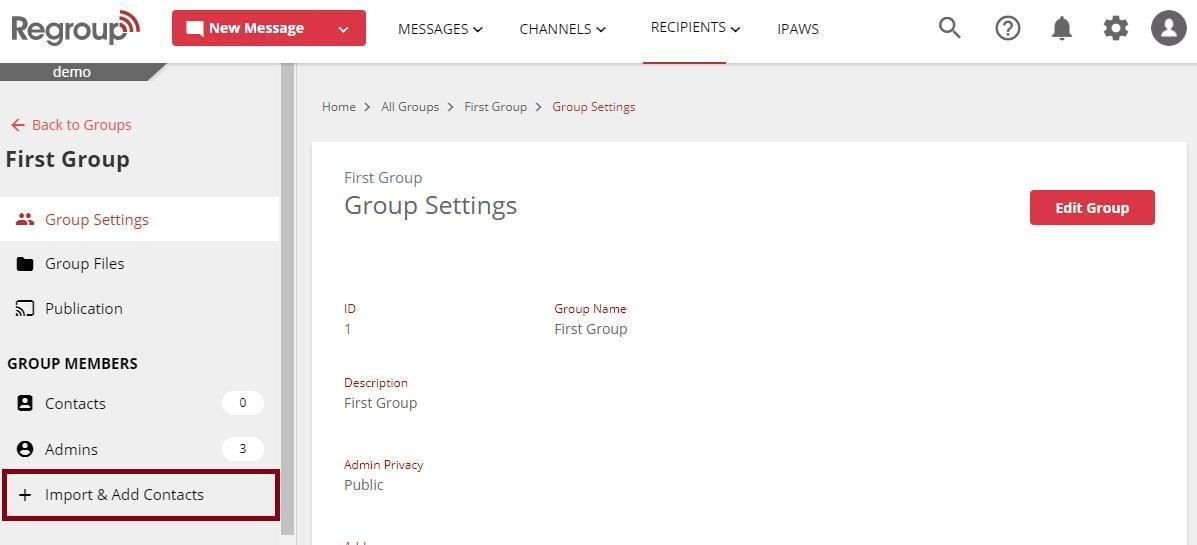
Scroll down to the Group Members section on the left navigation panel and click Import & Add Contacts.
See the following image:
The Add Contacts page appears.
-
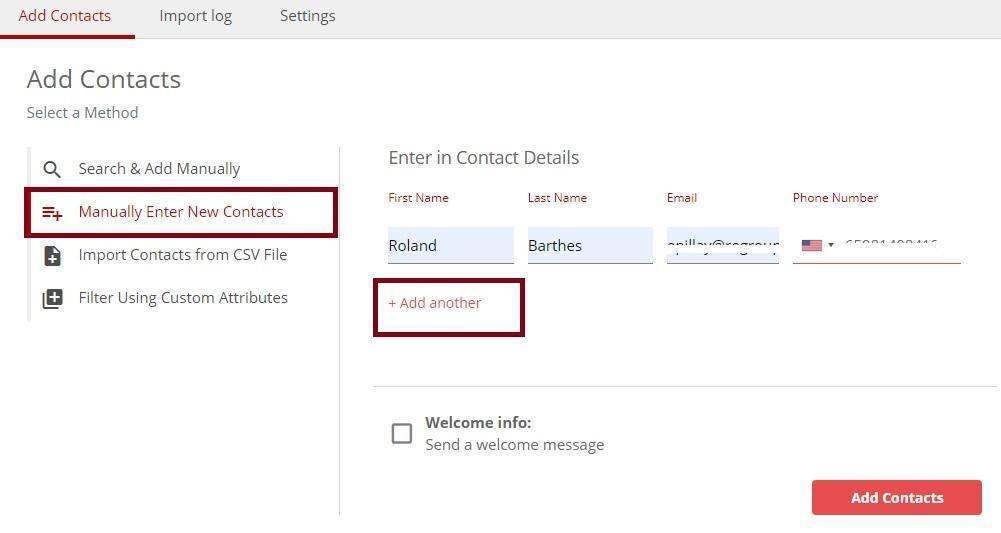
Click Manually Enter New Contacts on the Add Contacts page.
-
Enter the First Name, Last Name, Email and Phone Number of the contact.
-
Click Add another to add more contacts. Repeat entering the name and contact details.
See the following image:
-
You can delete an unwanted entry by clicking the Delete icon.
-
If you want to send a welcome message to the newly added contacts, do the following:
-
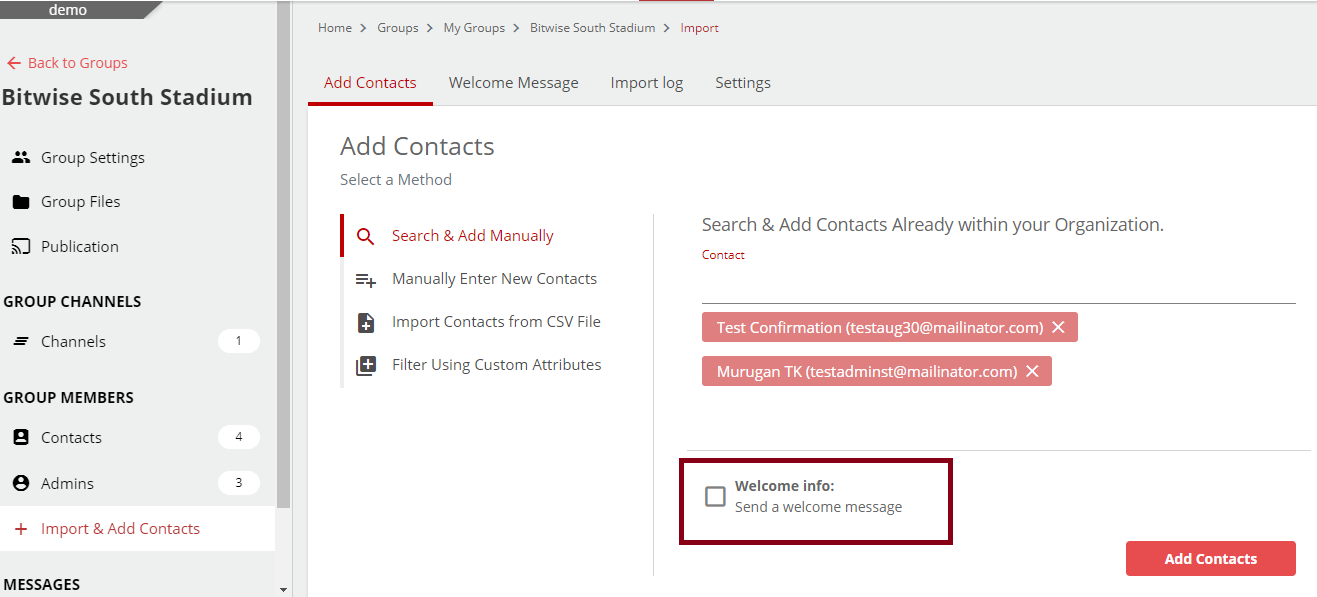
Click the Welcome Info checkbox. See the following image:
-
Verify and update the Name and Email in the sender information section.
-
Verify and update the Subject of the welcome message.
Note: The placeholder [group_name] will be updated with the group name when the message is sent.
-
Click the message content to update the predefined welcome message.
-
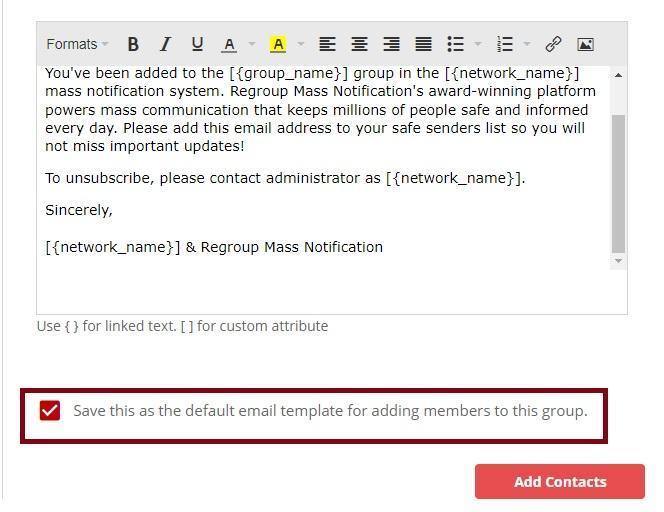
You can click the following checkbox to save this email template for future use:
-
-
Click Add Contacts.