
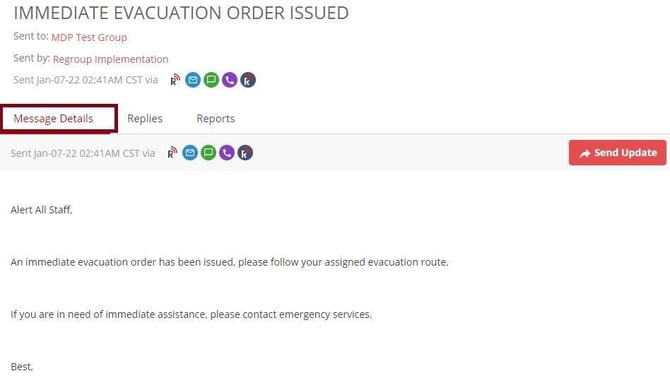
In the Message Details tab, you can view sent messages and send message updates. You can schedule sending a message on a selected date and time. You can also send the updates to the admin and recipients separately.
Here is how you view details and send message updates:
-
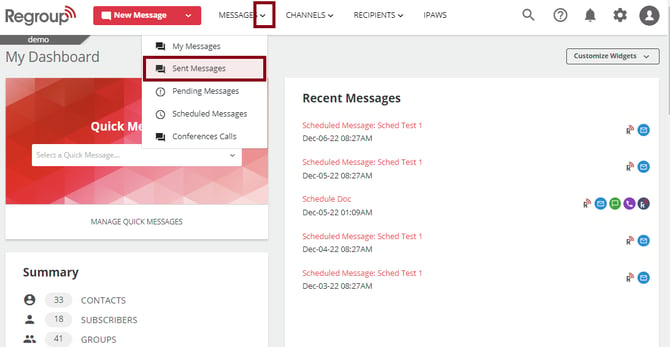
Click the Messages dropdown and select Sent Messages. See the following image:
Otherwise, click the Messages tab and Send Messages on the left navigation panel. See the following image:
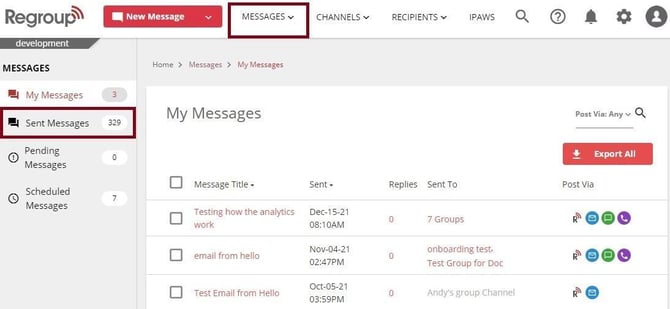
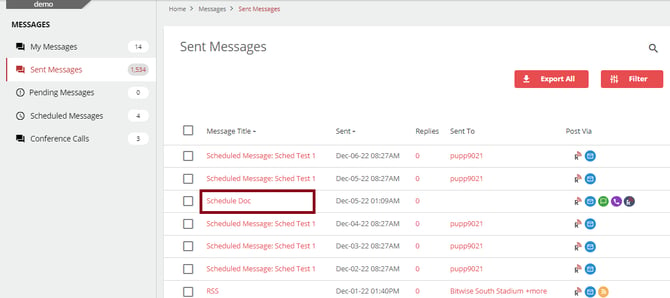
The Sent Message page opens with the list of messages sent from your organization.
-
Locate the required message and click its title to open the message. See the following image:
-
Click the Message Details tab to view the message body, recipient and delivery methods. See the following image:
-
Click Send Update button to send updates of the message. See the following image:
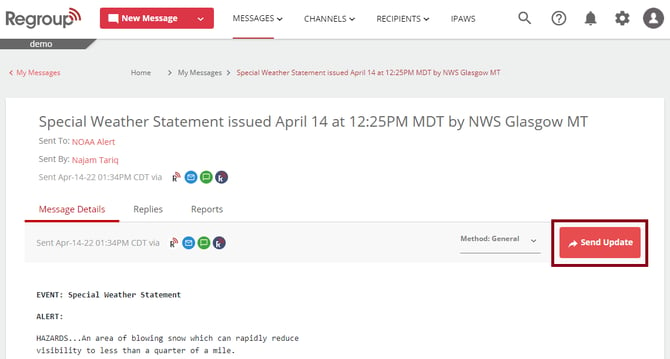
The Update message section opens at the bottom of the current message.
-
In the Recipient dropdown, you can select the following:
-
Original Message Recipients Only: send an update message to all members of the recipient channel or group.
-
Admins Only: send updates to the admins of the recipient channel or groups.
-
Both: Send the message to both admins and original message recipients.
See the following image:
-
-
Scroll down to the section, and you can update the recipients, delivery methods and message content. You can also add a message template. To learn more about these, see Send New Message.
-
Click the Include the content of the previously sent message to the message body of the update checkbox to add the previous message content in this message.
See the following image:
-
Click the Add a prefix 'update' for Text/SMS checkbox to add the text update in the SMS.
-
You can click the Schedule for Later checkbox to select a date and time when the message update should be sent. See the following image:
-
Click Send Update button to send the message.