
The Advanced tab of the Organization Settings page contains the following configurations. You can search and move to the required tasks directly and save your settings.
- Feature Settings: enable the features your organization requires.
- Contact Profile Settings: Manage the contact’s access to the profile attributes on the My Profile page. You can restrict or hide the custom attributes to determine how they appear on the profile page.
- Logout Settings: enable the logout URL to open the associated page when a user logs out of the application. Determine when the system must log users out of the application when idle.
Perform the required tasks from the following:
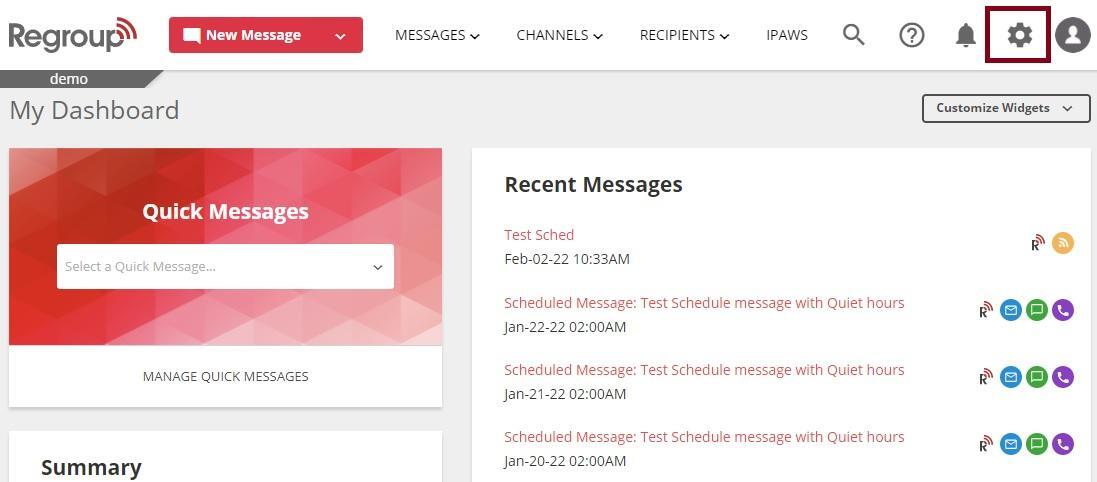
- Click the Organization Settings icon in the top right corner. See the following image:
The Organization Settings page opens with the General tab. - Click the Advanced tab. See the following image:
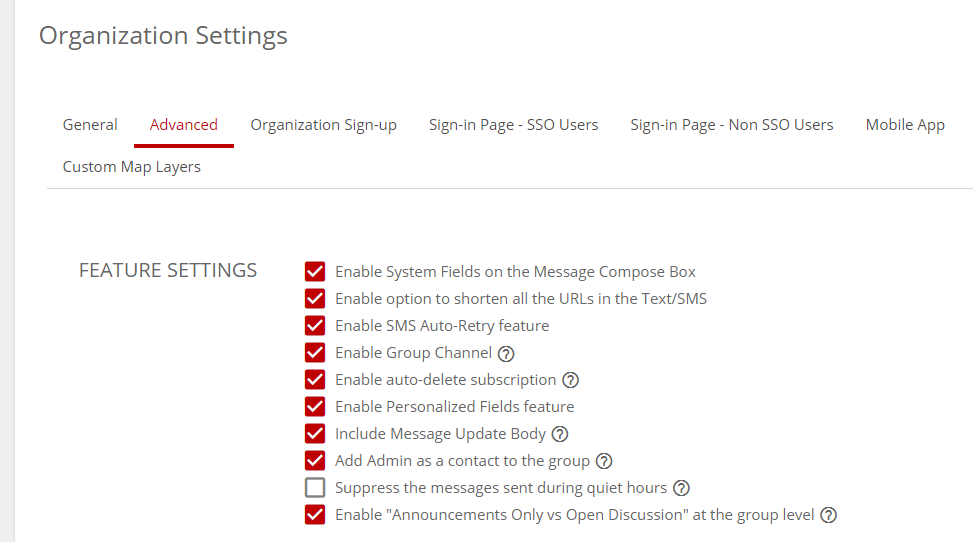
- In the Feature Setting section, you can click to enable any feature per requirement:
- Enable System Fields on the Message Compose Box: Enable this to enter the dynamic time in your messages. The dynamic time displays time using your organization’s timezone.
- Enable option to shorten all the URLs in the Text/SMS: Enable this to shorten the URLs in your SMS and texts.
- Enable SMS Auto-Retry feature: Enable this to retry sending an SMS several times until they receive or with a frequency you select.
- Enable Group Channel: Enable the creation of a communication channel when creating groups. The Create Group Channel option appears as a checkbox when creating groups.
- Enable auto-delete subscription: Enable this feature to configure organization and channel embeds with a duration to automatically delete all subscriptions signed up using that embed. You can set up a subscription end time while configuring the embed or allow the subscriber to choose a date to auto-delete their channel subscription when they sign up. Contacts and admins can also edit a contact profile and choose a date to delete their subscription and remove the user from the organization.
- Include Message Update Body: Enable your message updates to display previously sent content.
- Enable "Announcements Only vs Open Discussion" at the group level: This feature adds a new section, Group Type, to your groups. Group Type determines whether a group can receive its recipient’s replies. Announcements Only or Open Discussion are the available group types. See the following image:

- Suppress messages sent during quiet hours: This feature disables delivering messages sent during the recipient’s quiet hours, even after the quiet hour window.
- Add Admin as a contact to the group: Enable this to automate the creation of contact profiles for the admins you add to groups using the web, API, CSV, or SFTP import. The linked contact profile is removed only when the admin profile is removed.
- Enable Personalized Fields feature: You can add personalized fields like the recipient’s name or details when creating messages. Our system delivers these messages to recipients with information specific to their profile.
After enabling personalized fields, you must enter a Default Alternative Value. If the system cannot find a value for a personalized field in a contact’s profile, it uses this Default Alternative Value instead.
See the following image: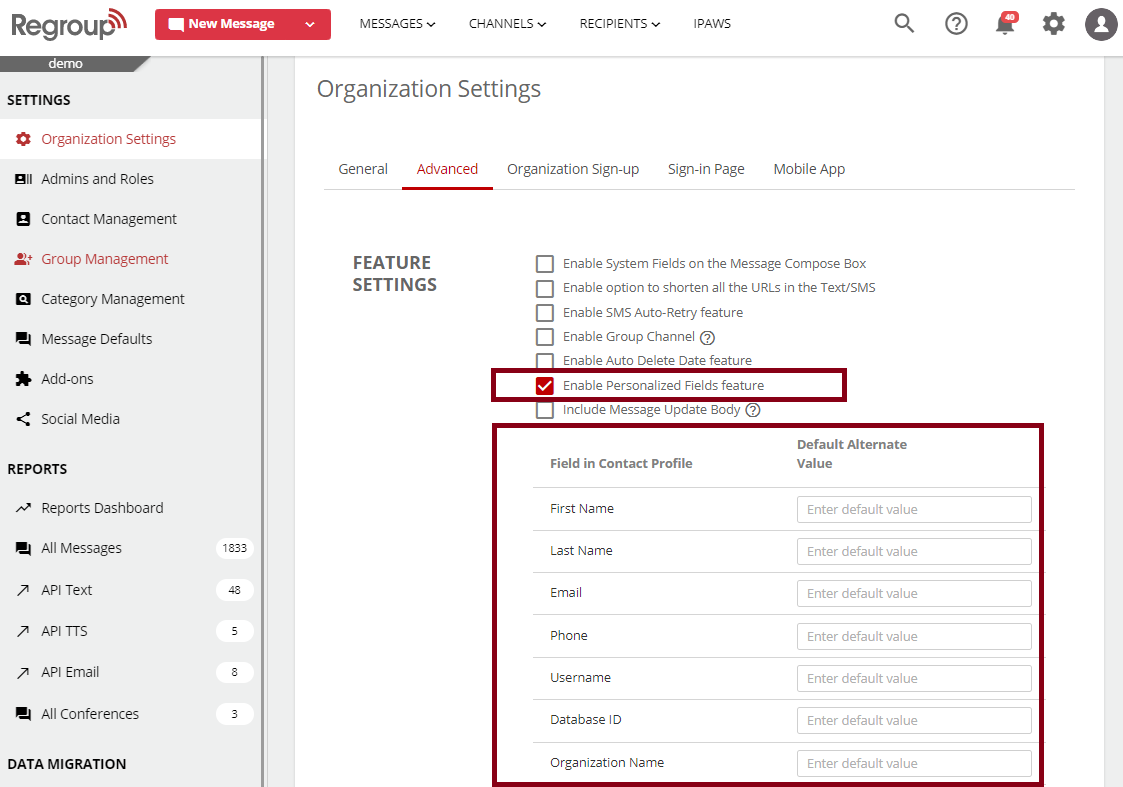
- In the Contact Profile Settings, you can do the following:
- Click either of the Contact Profile Attribute-Mobile App checkboxes:
- Allow contacts to edit their profile on the mobile app.
- Restrict contacts from editing their profile on the mobile app.
See the following image: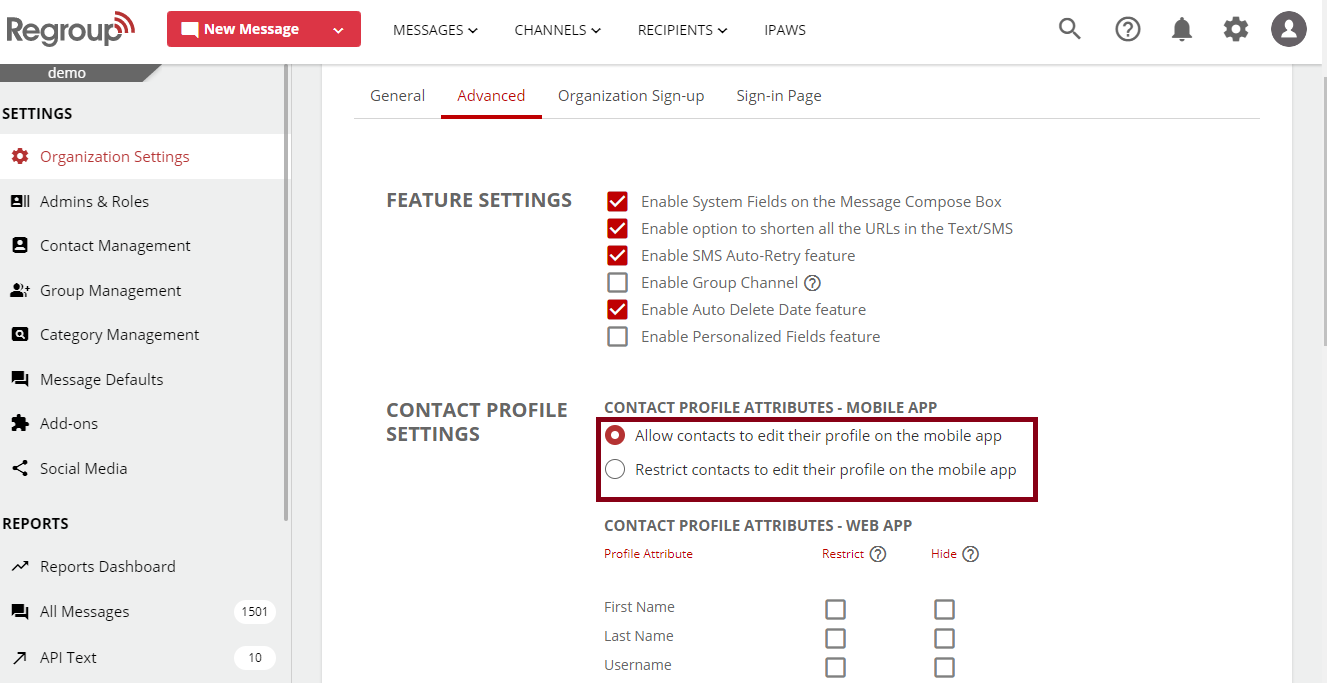
- Click the following Contact Profile Attribute- Web app checkboxes to hide the attribute from appearing on the contact profile page or restrict editing those:
- Restrict: restrict the contact from editing the corresponding profile attribute on the My Profile page.
- Hide: hide the corresponding profile attributes from appearing on the My Profile page.
The following image highlights the checkboxes corresponding to the database ID hidden and the phone – cell restricted:
- Click either of the Contact Profile Attribute-Mobile App checkboxes:
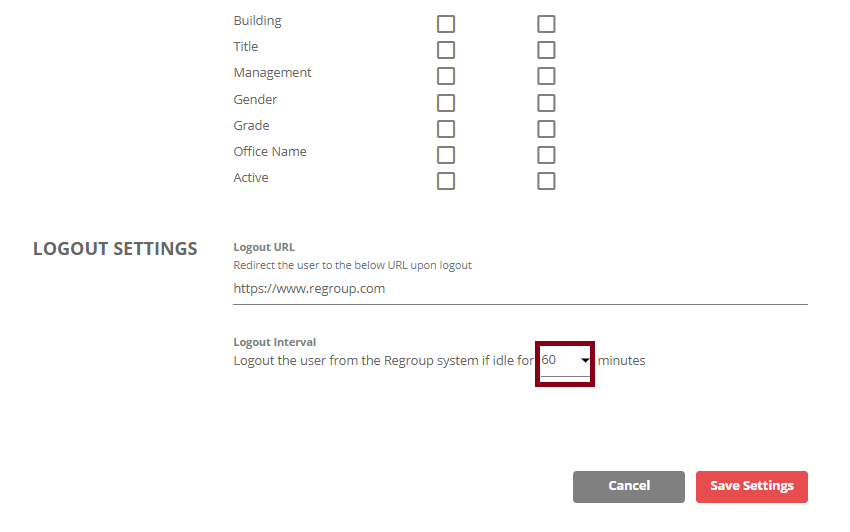
- In the Logout URL section, you can enter a URL that opens the associated page when a user logs out of the application.
Tip: You can direct the user to the home page of your organization's website or any other page. It is not a mandatory field. - Click the Logout Interval dropdown to determine when the system logs users out of the application when they are idle. See the following image:
- Click Save Settings.